Smart Lighting and Automation

Bathroom auto light switch – Automating bathroom lighting with smart switches offers numerous benefits. These switches allow you to control your bathroom lighting remotely, set schedules, and even customize the lighting to suit your needs.
Bathroom auto light switches are a great way to add convenience and safety to your bathroom. They can be programmed to turn on when you enter the room and off when you leave, so you never have to fumble for a light switch in the dark.
They can also be paired with a light wood bathroom vanity 48, which is a great way to add a touch of style to your bathroom. The vanity is made from durable wood and features a spacious top and ample storage space.
The auto light switch and the light wood bathroom vanity 48 are a great way to improve the functionality and style of your bathroom.
There are various types of smart switches available, each with its unique features. Some popular options include Wi-Fi switches, Bluetooth switches, and voice-activated switches.
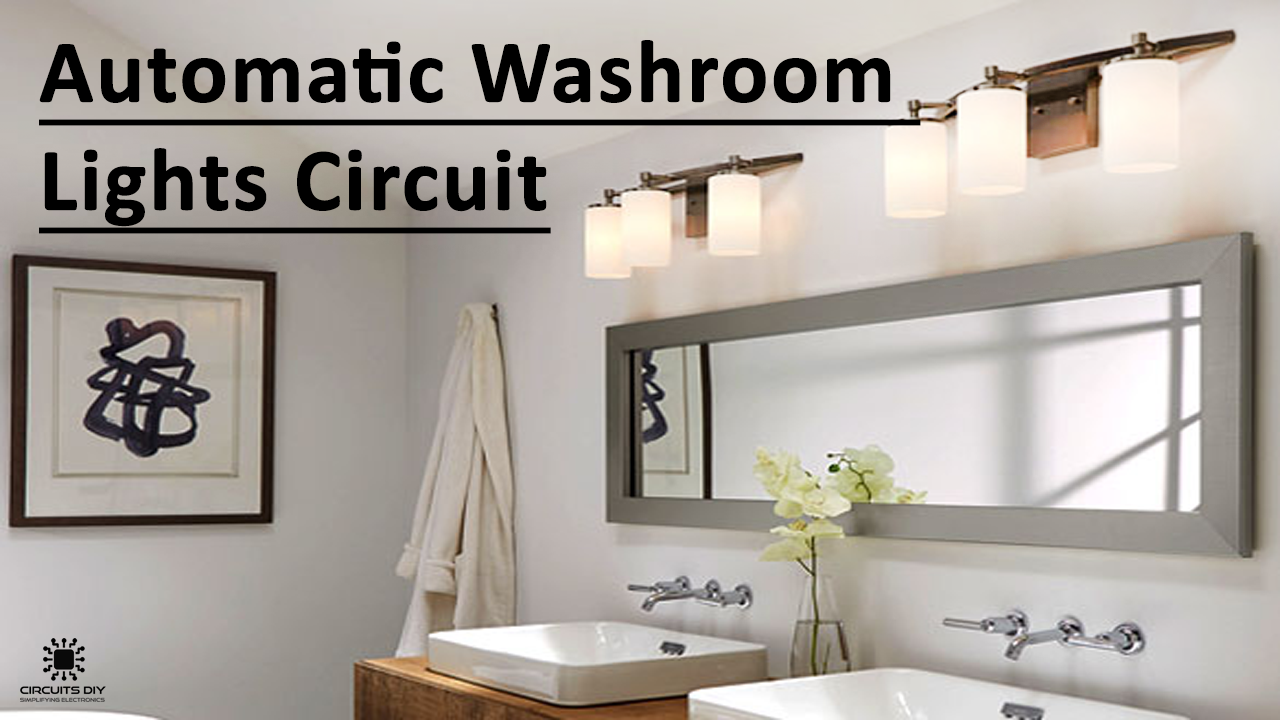
Gone are the days of fumbling for the bathroom light switch in the dark. The bathroom auto light switch offers a convenient and energy-efficient solution, automatically illuminating your bathroom as you enter. If you’re looking for a stylish upgrade to your bathroom lighting, the astro bari bathroom wall light combines both functionality and aesthetic appeal.
With its sleek design and energy-saving LED technology, it’s the perfect complement to your bathroom auto light switch, ensuring you have a well-lit and stylish bathroom experience.
Wi-Fi Switches
- Connect to your home Wi-Fi network, enabling remote control from anywhere with an internet connection.
- Offer advanced features such as scheduling, geofencing, and integration with smart home ecosystems.
- Require a stable Wi-Fi connection for reliable operation.
Bluetooth Switches, Bathroom auto light switch
- Connect to your smartphone or tablet via Bluetooth, providing local control within a limited range.
- Easy to install and set up, without the need for additional wiring or hubs.
- May have limited functionality compared to Wi-Fi switches.
Voice-Activated Switches
- Integrate with voice assistants such as Amazon Alexa or Google Assistant, allowing hands-free control.
- Offer convenience and accessibility, especially for individuals with limited mobility.
- Require a compatible smart home hub and a stable internet connection.
Smart switches can enhance bathroom functionality in various ways. For example, you can:
- Set schedules to automatically turn on/off the lights at specific times, ensuring your bathroom is well-lit when you need it.
- Use geofencing to trigger the lights to turn on when you approach your home, providing a welcoming and convenient experience.
- Create custom lighting scenes to suit different activities, such as a relaxing ambiance for a bath or a bright setting for applying makeup.
Installation and Wiring Considerations: Bathroom Auto Light Switch
Installing a bathroom auto light switch is a straightforward process that can be completed in a few simple steps. Before beginning, it’s important to familiarize yourself with the electrical wiring in your bathroom and to follow all safety precautions. It’s also important to check your local building codes for any specific requirements or restrictions.
Once you have gathered the necessary tools and materials, you can begin the installation process. The following steps will guide you through the process:
Wiring Diagram
The wiring diagram for a bathroom auto light switch is relatively simple. The switch is typically connected to the power source, the light fixture, and a motion sensor. The motion sensor detects movement and sends a signal to the switch, which then turns on the light. The following diagram shows the basic wiring configuration for a bathroom auto light switch:
[Image of a wiring diagram for a bathroom auto light switch]
Step-by-Step Installation Instructions
- Turn off the power to the bathroom at the circuit breaker panel.
- Remove the faceplate from the existing light switch.
- Disconnect the wires from the existing light switch.
- Connect the wires from the new auto light switch to the appropriate terminals on the switch.
- Mount the new auto light switch in the electrical box.
- Turn on the power to the bathroom at the circuit breaker panel.
- Test the auto light switch to make sure it is working properly.
Safety Precautions
- Always turn off the power to the bathroom before beginning any electrical work.
- Use caution when working with electrical wires.
- Follow all safety precautions Artikeld in the manufacturer’s instructions.
Customization and Advanced Features

Bathroom auto light switches offer a range of customization options to tailor them to specific bathroom usage patterns and preferences.
Advanced features like motion detection, occupancy sensors, and voice control further enhance the convenience and functionality of these switches.
Customizable Settings
- Light Level Adjustment: Set the desired brightness level for the light.
- Timer Settings: Adjust the time delay before the light turns off automatically.
- Motion Sensitivity: Configure the sensitivity of the motion detector to avoid false triggers.
Advanced Features
Motion Detection: These sensors detect movement in the bathroom and automatically turn on the light when someone enters, providing hands-free convenience.
Occupancy Sensors: More advanced than motion detectors, occupancy sensors use infrared technology to detect the presence of a person and keep the light on as long as they remain in the bathroom.
Voice Control: Compatible with smart home systems, bathroom auto light switches can be controlled by voice commands, allowing users to turn the light on or off, adjust brightness, or set timers hands-free.
Optimizing Performance
To optimize the performance of the switch, consider the following tips:
- Placement: Position the switch in a location where it can easily detect motion and avoid obstructions.
- Sensitivity Adjustment: Calibrate the motion sensor sensitivity to minimize false triggers or missed detections.
- Usage Patterns: Observe bathroom usage patterns and adjust the timer settings accordingly to prevent unnecessary light activation.
